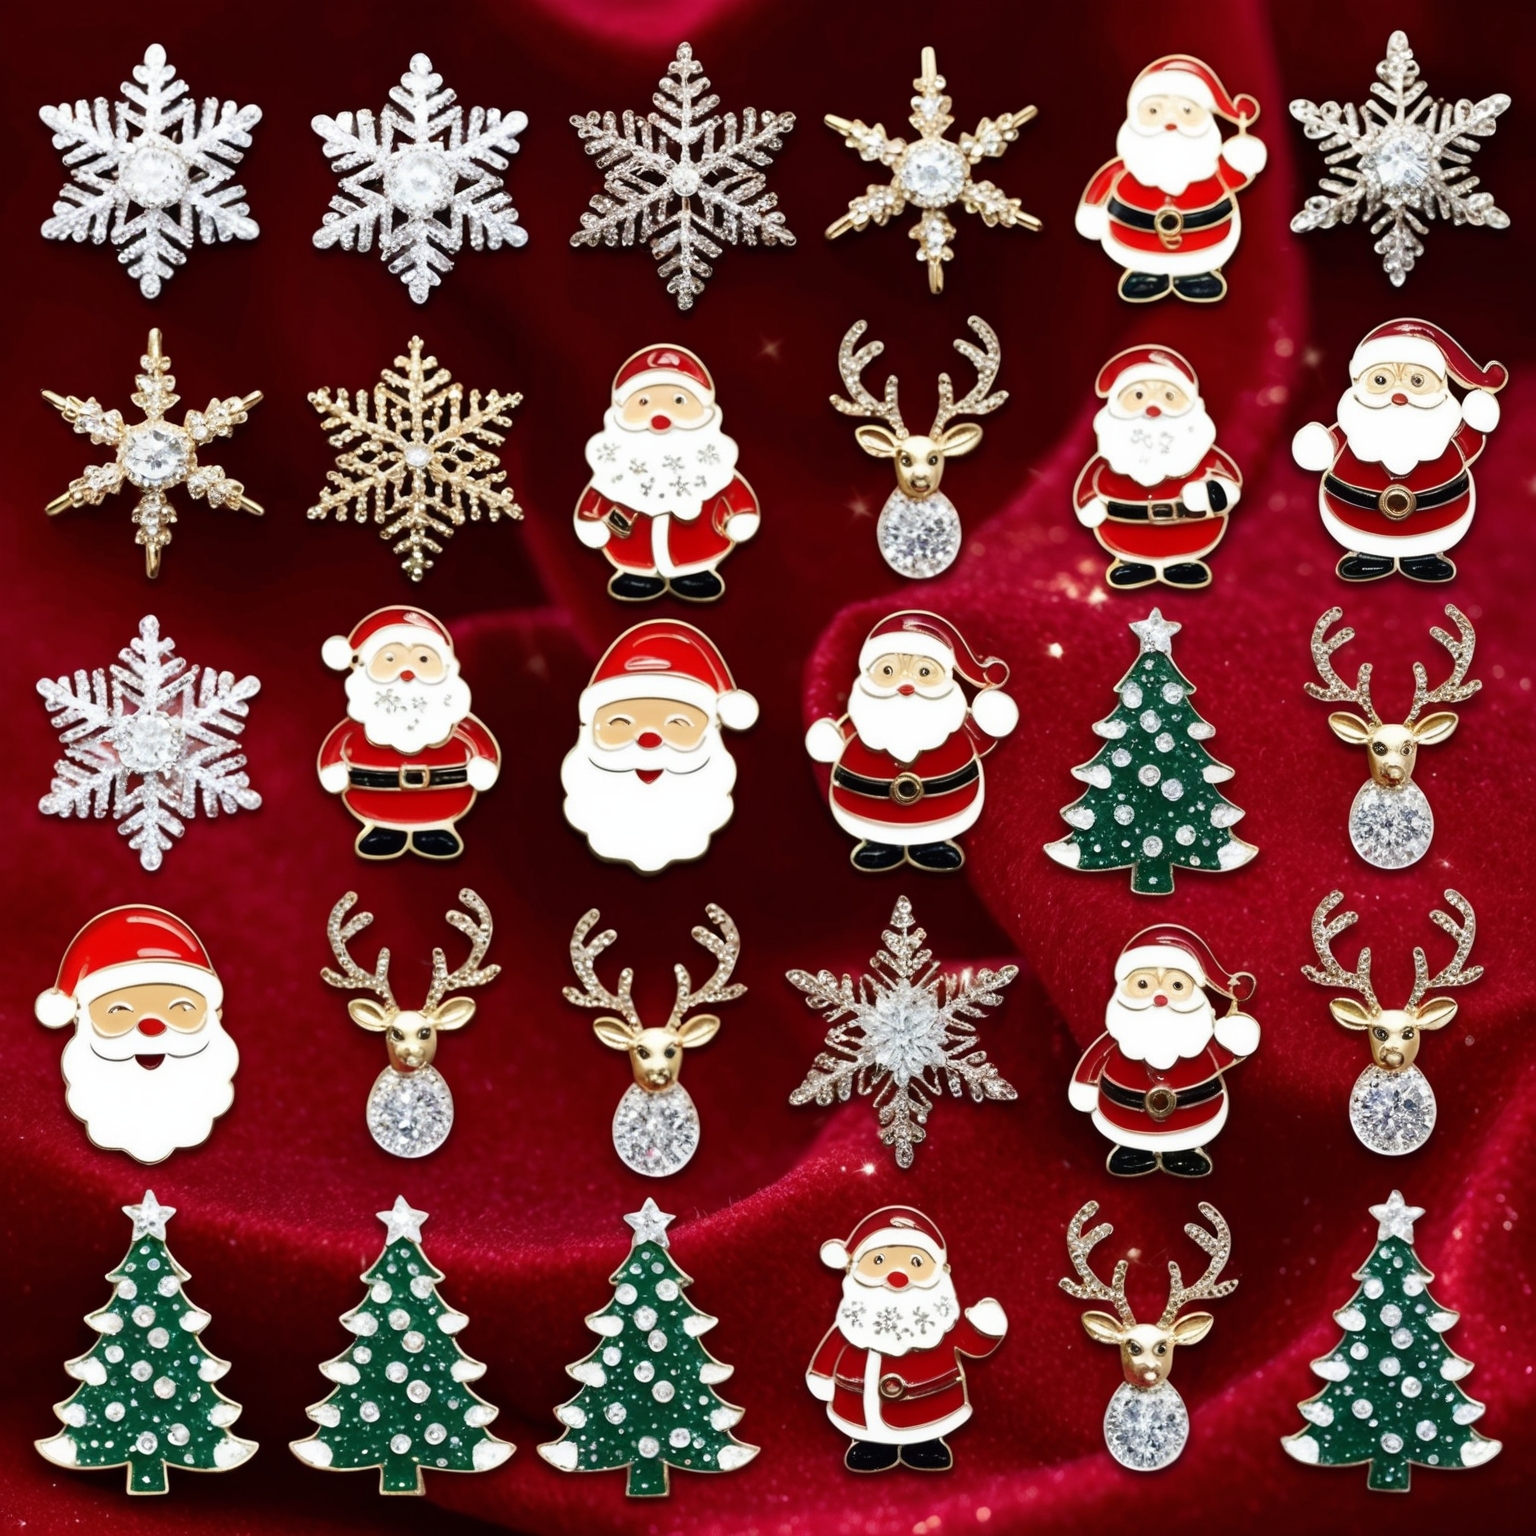
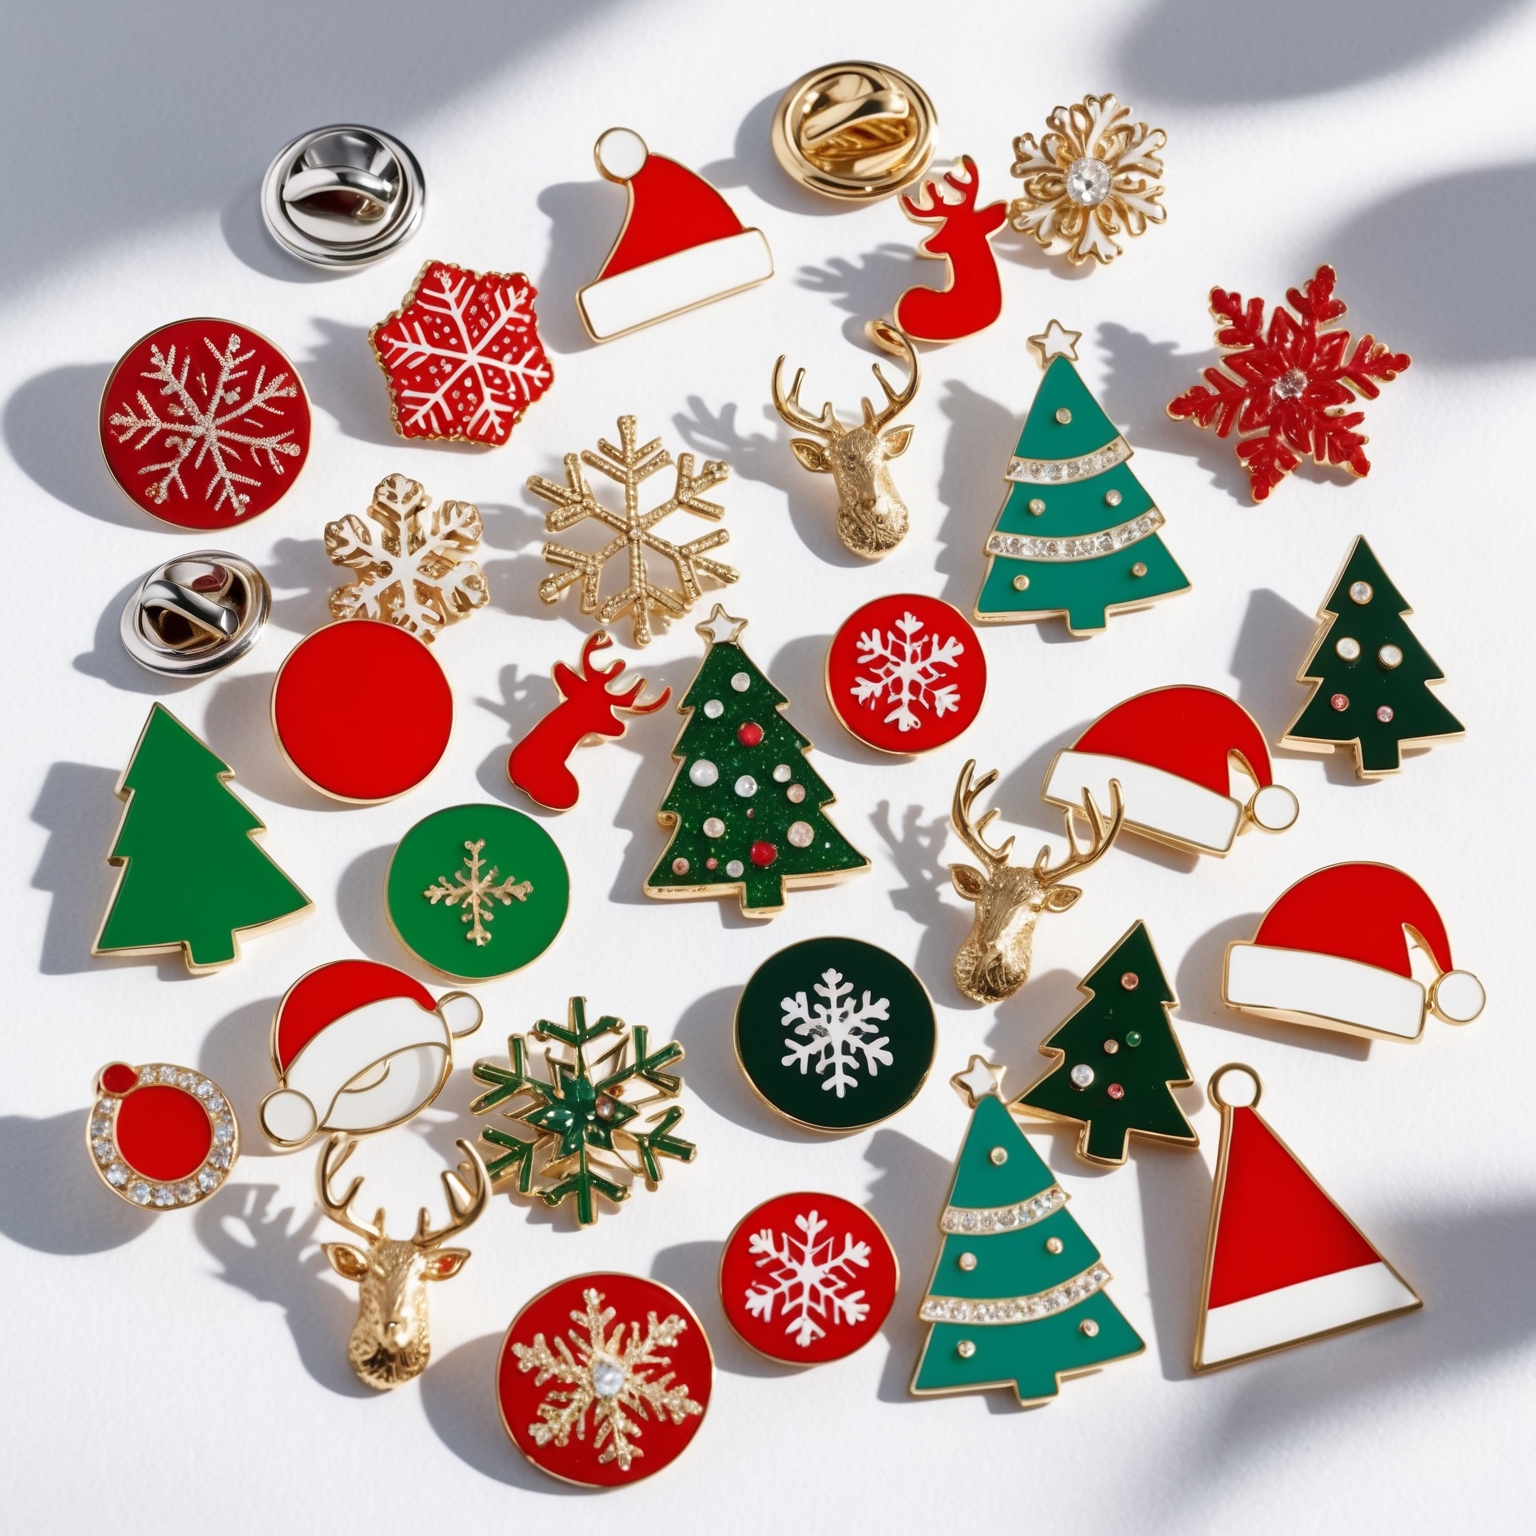
In a world that’s increasingly digital and fast-paced, there’s something undeniably special about giving a handmade gift. Custom lapel pins are a small but powerful token of appreciation, love, or friendship that can carry deep meaning and personal significance. Whether you’re looking to commemorate a special occasion, celebrate a milestone, or simply express your creativity, making your own custom lapel pins can be a rewarding and fulfilling DIY project.
Lapel pins are versatile accessories that can be worn on jackets, hats, bags, and more. They have a long history as symbols of identity, affiliation, and pride, often used by organizations, clubs, and teams to signify membership or achievement. In recent years, lapel pins have also become popular in fashion, where they serve as unique style statements. By creating custom lapel pins, you have the opportunity to craft a gift that’s both meaningful and personal, tailored to the recipient’s interests, hobbies, or memories.
This article will guide you through the process of creating your own custom lapel pins, from the initial design concept to the final product. Whether you’re an experienced crafter or a beginner looking to try something new, these DIY projects will inspire you to create lapel pins that are thoughtful, creative, and truly one-of-a-kind.
The Appeal of Custom Lapel Pins as Gifts
Before diving into the DIY projects, it’s important to understand why custom lapel pins make such meaningful gifts. Here are a few reasons why these small accessories can have a big impact:
1. Personalization and Thoughtfulness
One of the most significant advantages of custom lapel pins is their potential for personalization. By creating a pin that reflects the recipient’s personality, interests, or experiences, you’re showing that you’ve put thought and effort into the gift. This level of personalization can turn a simple pin into a cherished keepsake.
2. Versatility and Practicality
Lapel pins are versatile accessories that can be worn in various ways, making them a practical gift. Whether pinned to a jacket, hat, or bag, custom lapel pins allow the recipient to express their style and interests. They’re also easy to store and carry, making them a convenient and thoughtful gift option.
3. Symbolism and Meaning
Lapel pins often carry symbolic meaning, whether representing a cause, commemorating an event, or showcasing a hobby. By designing a custom lapel pin, you can create a gift that holds significant meaning for the recipient, making it a lasting reminder of a special moment or relationship.
4. Creativity and Craftsmanship
Creating custom lapel pins allows you to express your creativity and craftsmanship. Whether you’re designing a pin from scratch or using pre-made elements, the process of making something by hand adds a personal touch that can’t be replicated by store-bought gifts.
Now that we’ve explored why custom lapel pins make meaningful gifts, let’s dive into some DIY projects that will help you create your own unique pins.
DIY Projects for Making Custom Lapel Pins
There are several methods for creating custom lapel pins, ranging from simple designs that require minimal materials to more complex projects that involve multiple steps and techniques. Below are a few DIY projects that cater to different skill levels and creative interests.
1. Polymer Clay Lapel Pins
Polymer clay is a versatile and easy-to-use material that’s perfect for creating custom lapel pins. It’s available in a wide range of colors and can be molded, sculpted, and baked to create durable pins with intricate designs.
Materials Needed:
- Polymer clay in various colors
- Pin backs
- Craft knife or clay cutting tools
- Rolling pin or acrylic roller
- Baking sheet and parchment paper
- Strong adhesive (e.g., E6000 glue)
- Optional: acrylic paint, varnish, or gloss finish
Step-by-Step Instructions:
- Design Your Pin: Start by sketching out your pin design on paper. Consider the shape, size, and colors you want to use. Keep in mind that polymer clay allows for a lot of detail, so feel free to get creative with your design.
- Prepare the Clay: Condition the polymer clay by kneading it until it’s soft and pliable. Use a rolling pin or acrylic roller to flatten the clay to your desired thickness (typically around 1/8 inch).
- Cut and Shape: Use a craft knife or clay cutting tools to cut out the shape of your pin. You can create freeform shapes or use cookie cutters for more uniform designs. If your design has multiple layers or colors, create each element separately and then assemble them.
- Add Details: Use small tools or your fingers to add details to your pin. This could include texture, patterns, or additional clay elements. You can also use acrylic paint to add fine details after baking.
- Bake the Pin: Place the pin on a parchment-lined baking sheet and bake according to the polymer clay manufacturer’s instructions. Baking times and temperatures may vary depending on the brand, so be sure to follow the guidelines carefully.
- Attach the Pin Back: Once the clay has cooled, use strong adhesive to attach the pin back to the flat side of the clay. Allow the glue to dry completely before handling.
- Optional Finishing Touches: If desired, apply a coat of varnish or gloss finish to protect the clay and give your pin a polished look.
Polymer clay lapel pins are a fun and creative way to make custom gifts. The possibilities are endless, and you can experiment with different colors, shapes, and textures to create something truly unique.
2. Resin Lapel Pins
Resin is another popular material for making custom lapel pins, offering a glossy, glass-like finish that’s both durable and attractive. Resin pins can be made with molds or bezels and can incorporate a variety of elements, such as glitter, dried flowers, or tiny charms.
Materials Needed:
- Epoxy resin and hardener
- Pin backs
- Silicone molds or metal bezels
- Mixing cups and stir sticks
- Protective gloves and mask
- Glitter, dried flowers, charms, or other small embellishments
- Strong adhesive (e.g., E6000 glue)
Step-by-Step Instructions:
- Design Your Pin: Decide on the shape and style of your pin. If using a mold, choose one that matches your desired shape. If using a bezel, consider how the elements will be arranged inside the frame.
- Prepare the Resin: Follow the manufacturer’s instructions to mix the epoxy resin and hardener. Be sure to wear protective gloves and a mask while working with resin, as it can be toxic when inhaled or absorbed through the skin.
- Pour and Add Elements: Pour a small amount of resin into the mold or bezel, just enough to cover the bottom. Add your chosen elements, such as glitter, dried flowers, or tiny charms, to the resin. Use a toothpick to arrange the elements as desired.
- Fill with Resin: Carefully pour more resin over the elements until the mold or bezel is filled. Use a toothpick to pop any bubbles that rise to the surface.
- Cure the Resin: Allow the resin to cure according to the manufacturer’s instructions. This usually takes 24 to 48 hours, depending on the type of resin and environmental conditions.
- Demold and Attach Pin Back: Once the resin has fully cured, carefully remove the pin from the mold or bezel. Use strong adhesive to attach the pin back to the flat side of the resin piece. Allow the glue to dry completely before handling.
- Optional Finishing Touches: If the edges of the pin are rough, you can use fine-grit sandpaper to smooth them out. You can also apply a clear coat to enhance the shine and protect the surface.
Resin lapel pins are perfect for those who want to create a more polished and professional-looking product. The clear, glossy finish of resin adds a touch of sophistication, making these pins ideal for gifts that need a little extra sparkle.
3. Embroidered Fabric Lapel Pins
For a more traditional and textured look, consider making embroidered fabric lapel pins. These pins combine the timeless art of embroidery with the practicality of a wearable accessory.
Materials Needed:
- Embroidery floss in various colors
- Embroidery hoop
- Needle
- Fabric (e.g., cotton, linen)
- Pin backs
- Felt or stiff fabric for backing
- Scissors
- Strong adhesive (e.g., E6000 glue)
- Optional: fabric glue, fabric stiffener
Step-by-Step Instructions:
- Design Your Pin: Start by sketching out your embroidery design on paper. Consider the size of the pin and how detailed you want the design to be. Simpler designs work best for small pins.
- Prepare the Fabric: Place the fabric in the embroidery hoop, pulling it tight to create a smooth surface. Transfer your design onto the fabric using a fabric pencil or transfer paper.
- Embroider the Design: Use embroidery floss and a needle to stitch your design onto the fabric. Experiment with different stitches, such as satin stitch, backstitch, or French knots, to add texture and depth to your design.
- Cut and Finish the Edges: Once your embroidery is complete, carefully cut around the design, leaving a small border. To prevent fraying, you can apply fabric glue or a fabric stiffener to the edges.
- Create the Backing: Cut a piece of felt or stiff fabric to match the shape of your embroidered piece. This will serve as the backing for your pin.
- Attach the Pin Back: Use strong adhesive to attach the pin back to the center of the felt backing. Once the glue has dried, attach the felt to the back of the embroidered piece, sandwiching the pin back between the layers.
- Optional Finishing Touches: If desired, you can add additional details to the pin, such as beads or sequins, to enhance the design.
Embroidered fabric lapel pins are perfect for those who enjoy handcrafting and want to create a gift with a more traditional, artisanal feel. The texture and warmth of the embroidery make these pins especially meaningful as gifts.
4. Shrink Plastic Lapel Pins
Shrink plastic, also known as shrink film or shrinky dinks, is a fun and accessible material for creating custom lapel pins. It’s easy to work with and allows for detailed designs that shrink down to a durable, plastic pin.
Materials Needed:
- Shrink plastic sheets (clear or white)
- Permanent markers or colored pencils
- Pin backs
- Scissors
- Oven and baking sheet
- Parchment paper
- Strong adhesive (e.g., E6000 glue)
Step-by-Step Instructions:
- Design Your Pin: Sketch your design on paper first, keeping in mind that the shrink plastic will reduce in size by about 50% when baked. Transfer your design onto the shrink plastic using permanent markers or colored pencils.
- Cut Out the Shape: Use scissors to carefully cut out your design from the shrink plastic sheet. Be sure to round off any sharp edges to prevent them from becoming too sharp after shrinking.
- Bake the Plastic: Place the cut-out design on a parchment-lined baking sheet and bake according to the manufacturer’s instructions. The plastic will shrink, thicken, and become more rigid as it bakes.
- Attach the Pin Back: Once the plastic has cooled, use strong adhesive to attach the pin back to the flat side of the pin. Allow the glue to dry completely before handling.
- Optional Finishing Touches: If desired, you can apply a clear coat or varnish to the pin for added shine and durability.
Shrink plastic lapel pins are great for beginners and kids, as they’re easy to make and offer endless possibilities for creativity. The shrinking process adds an element of surprise, making each pin unique.
Personalizing and Customizing Your Lapel Pins
One of the joys of creating custom lapel pins is the ability to personalize them to suit the recipient’s tastes and interests. Here are a few ways to make your lapel pins even more special:
1. Monograms and Initials
Adding a monogram or initials to your lapel pin design is a simple way to personalize the gift. Monograms can be incorporated into the design of the pin itself, or they can be added as a small, separate element. Consider using elegant fonts or stylized letters that reflect the recipient’s personality.
2. Meaningful Symbols
Incorporate symbols that hold special meaning for the recipient. This could be anything from a favorite animal or hobby to a religious symbol or zodiac sign. By including these elements, you create a pin that resonates on a deeper level.
3. Favorite Colors and Themes
Choose colors and themes that reflect the recipient’s preferences. Whether it’s their favorite color, a beloved sports team, or a cherished memory, incorporating these elements into the design makes the pin feel more personal and thoughtful.
4. Commemorative Dates
Include a special date on the pin to commemorate an important event, such as a birthday, anniversary, or graduation. This can be subtly incorporated into the design or prominently displayed, depending on the overall aesthetic of the pin.
Personalization is key to creating a lapel pin that’s not only beautiful but also meaningful to the recipient. By taking the time to add these thoughtful touches, you ensure that your gift will be treasured for years to come.
Best Practices for Crafting and Caring for Custom Lapel Pins
To ensure that your custom lapel pins are as durable and well-crafted as they are beautiful, follow these best practices:
1. Use High-Quality Materials
Whether you’re working with polymer clay, resin, fabric, or shrink plastic, always choose high-quality materials for your project. This ensures that the final product is durable and has a professional finish.
2. Take Your Time with Details
The small size of lapel pins means that details are especially important. Take your time when adding fine details to your design, whether it’s painting, embroidery, or arranging elements in resin. Precision and attention to detail will make your pins stand out.
3. Test Adhesives and Finishes
Before committing to a particular adhesive or finish, test it on a small piece of material to ensure it works as expected. Some adhesives may not bond well with certain materials, and some finishes may alter the color or texture of your design.
4. Store and Package Thoughtfully
When giving your lapel pins as gifts, consider how they’re packaged and presented. A small gift box, fabric pouch, or decorative card can enhance the presentation and protect the pin during transit. If you’re storing pins for future use, keep them in a dry, cool place away from direct sunlight to prevent discoloration or damage.
By following these best practices, you can create custom lapel pins that are not only visually stunning but also built to last.
Conclusion: The Joy of Creating Custom Lapel Pins
Creating custom lapel pins is a delightful and rewarding DIY project that allows you to craft meaningful, personalized gifts. Whether you’re making pins for a special occasion, a loved one, or simply to express your creativity, the possibilities are endless. From polymer clay and resin to embroidery and shrink plastic, there are countless ways to design and create unique lapel pins that reflect your personal style and the interests of the recipient.
By following the DIY projects and tips outlined in this article, you can create custom lapel pins that are not only beautiful and thoughtful but also durable and practical. These small but significant accessories make wonderful gifts that will be cherished for years to come, serving as lasting reminders of special moments and relationships.
So, gather your materials, unleash your creativity, and start crafting custom lapel pins that are truly one-of-a-kind!
If you are interested in buying high quality custom lapel pins, you can call us at 866-246-9375 or fill out a FREE quote form.


